Ever have the urge to grow something green? Since most of us live in cities, access to space to grow plants is practically non-existent, and soils are often contaminated with heavy metals and other industrial pollutants. Despite these conditions, people are using creative hydroponic growing techniques that do not require soil or much space to grow nutrient-dense food in their homes.
Hydroponic systems are unique in that they do not use soil to grow plants. Instead, plants use nutrient-rich water (nutrient solution) and growing media (like coco coir, made from coconut husks) for nutrition & root support.
Recently, I created a container deep water culture hydroponic system by re-purposing an old storage container (10 gallons). In deep water culture (DWC) systems, plants sit directly in nutrient-rich water, and an air pump & air stone keeps the water from getting stagnant by blowing bubbles into the water.
It was super easy, and I’ve outlined the steps here so you can construct your own DWC hydroponic herb garden for your home today!
Step 1: Gather your materials (see links at end of the post):
-10-gallon storage tote (or bus box with lid),
-Drill,
-2″ hole saw drill attachment,
-Net pots (2″),
-Coco coir plugs,
-Dry nutrients part A and B for lettuce (also good for herbs),
-Digital EC meter & pH meter,
-Measuring spoon (1 teaspoon),
-Air pump,
-Air stone,
-Herb & lettuce seeds
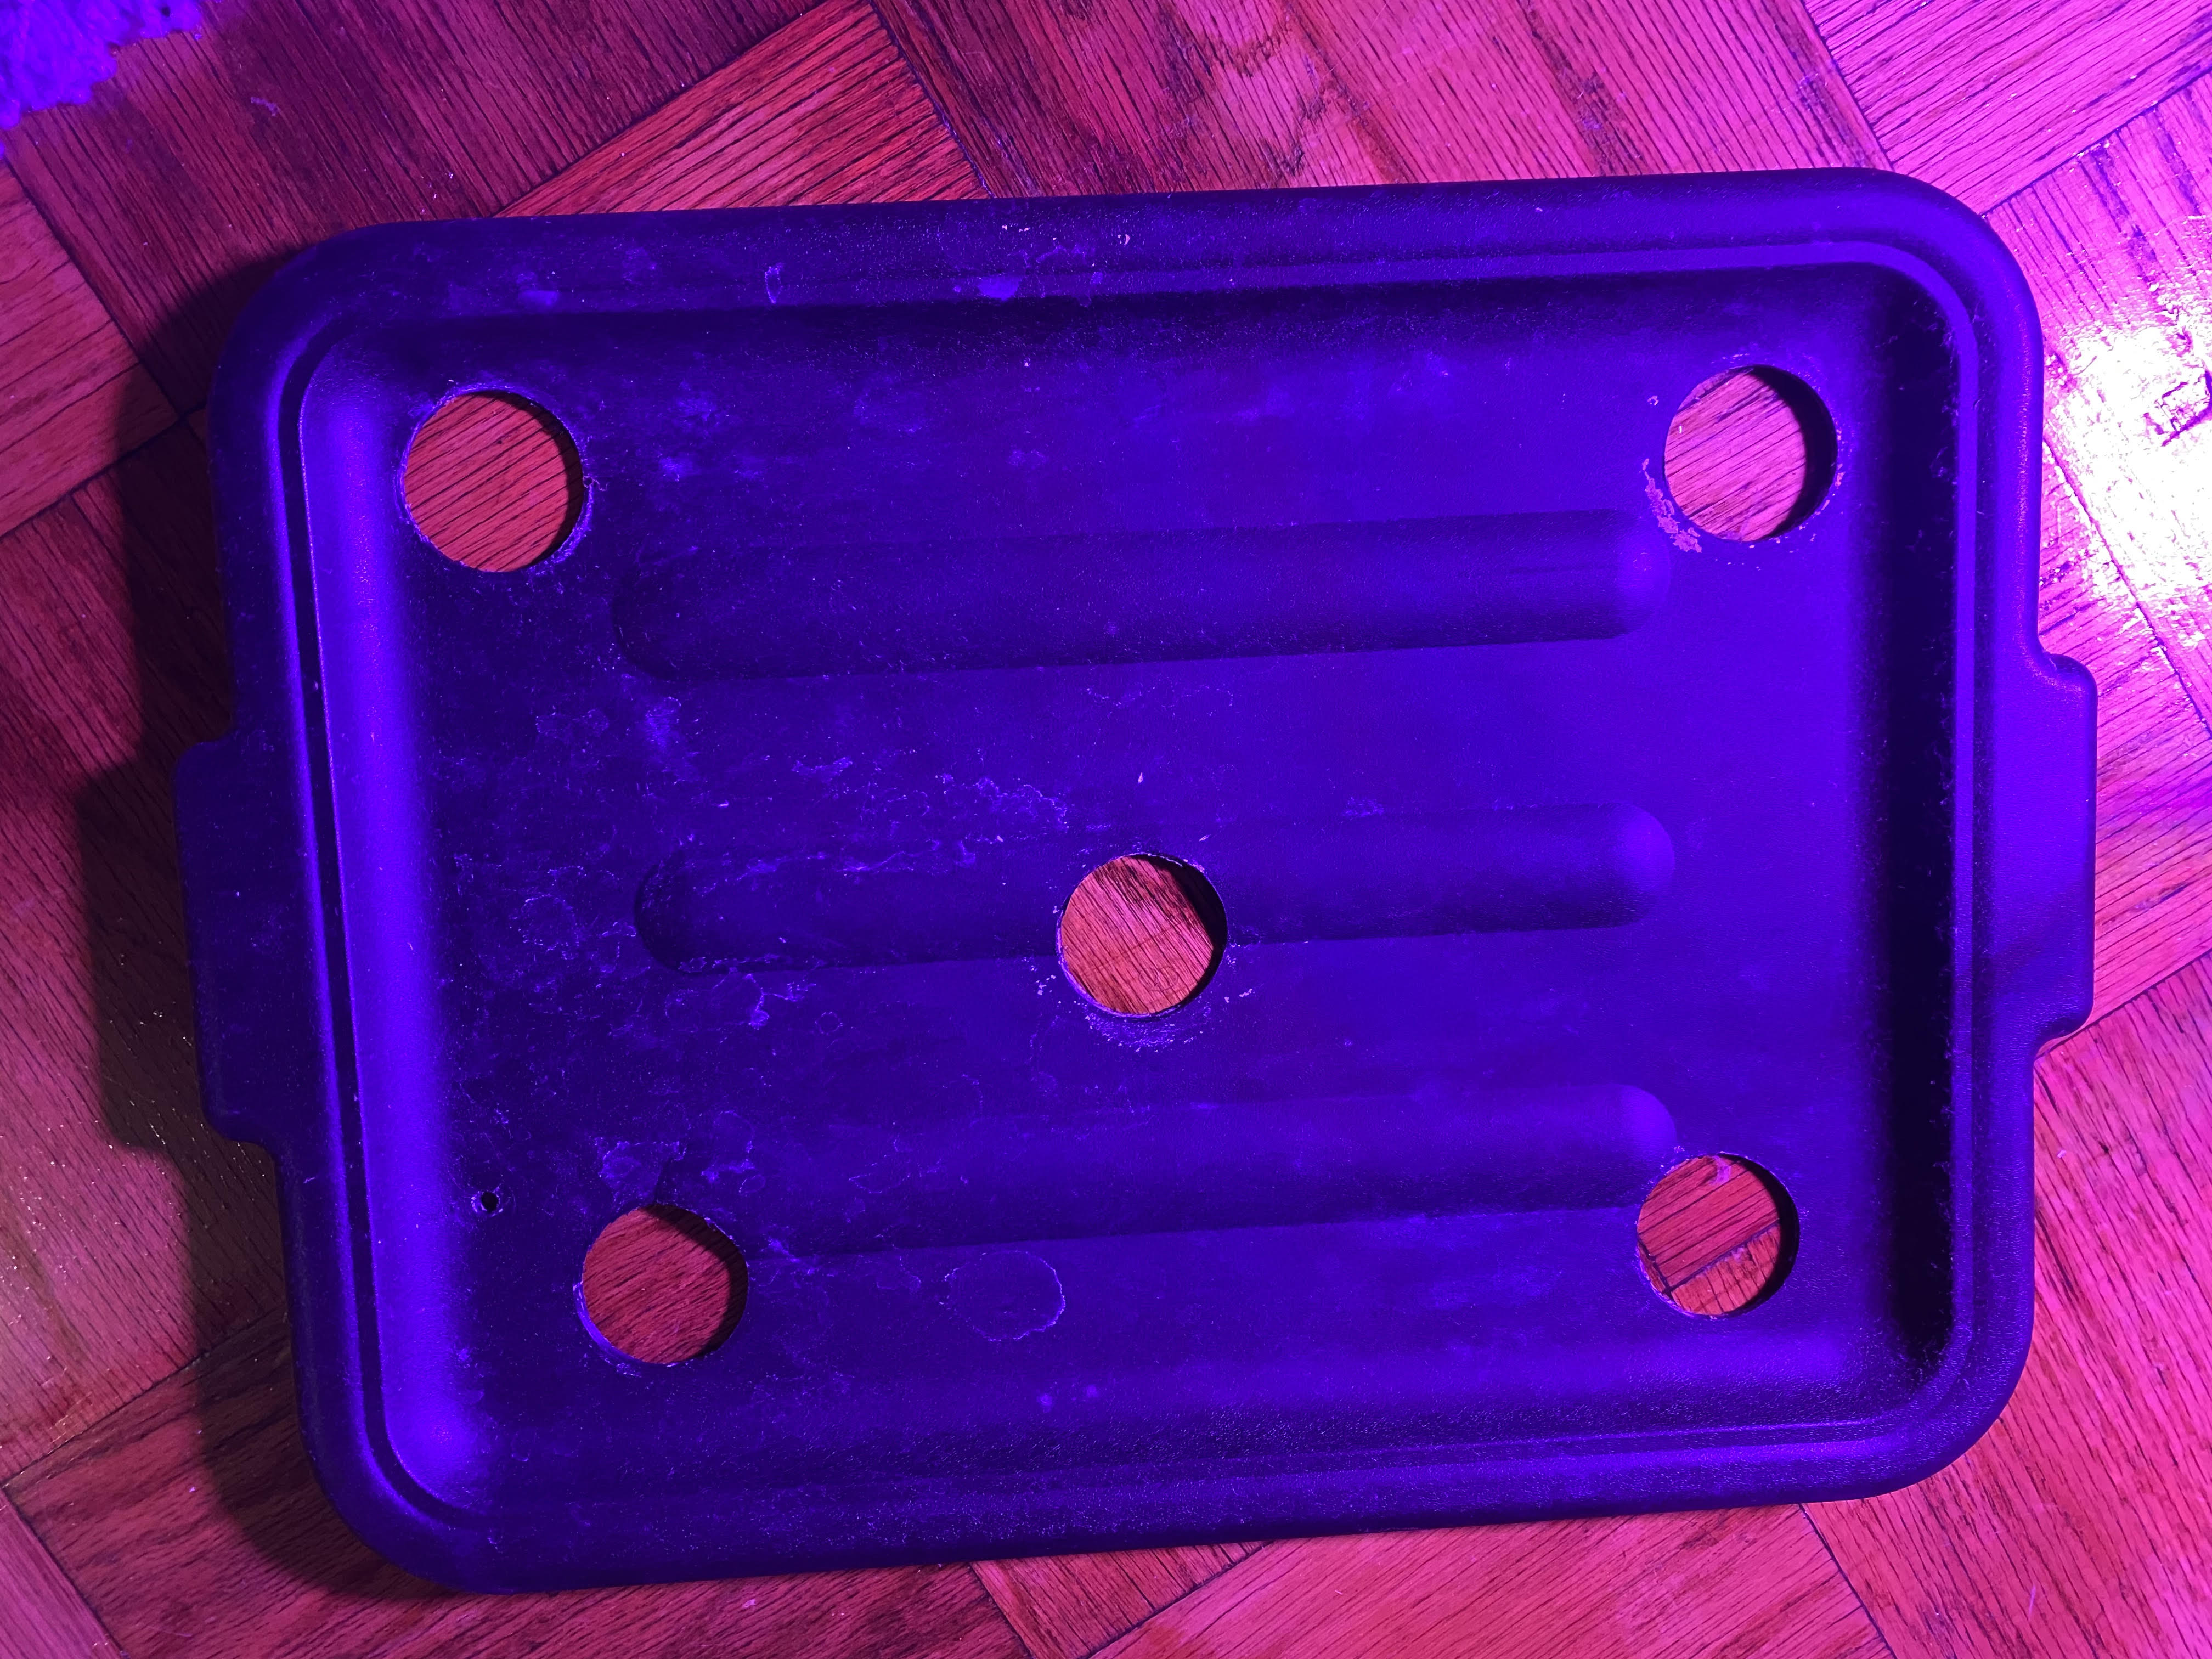
Step 2: Drill holes into the lid of your storage tote.
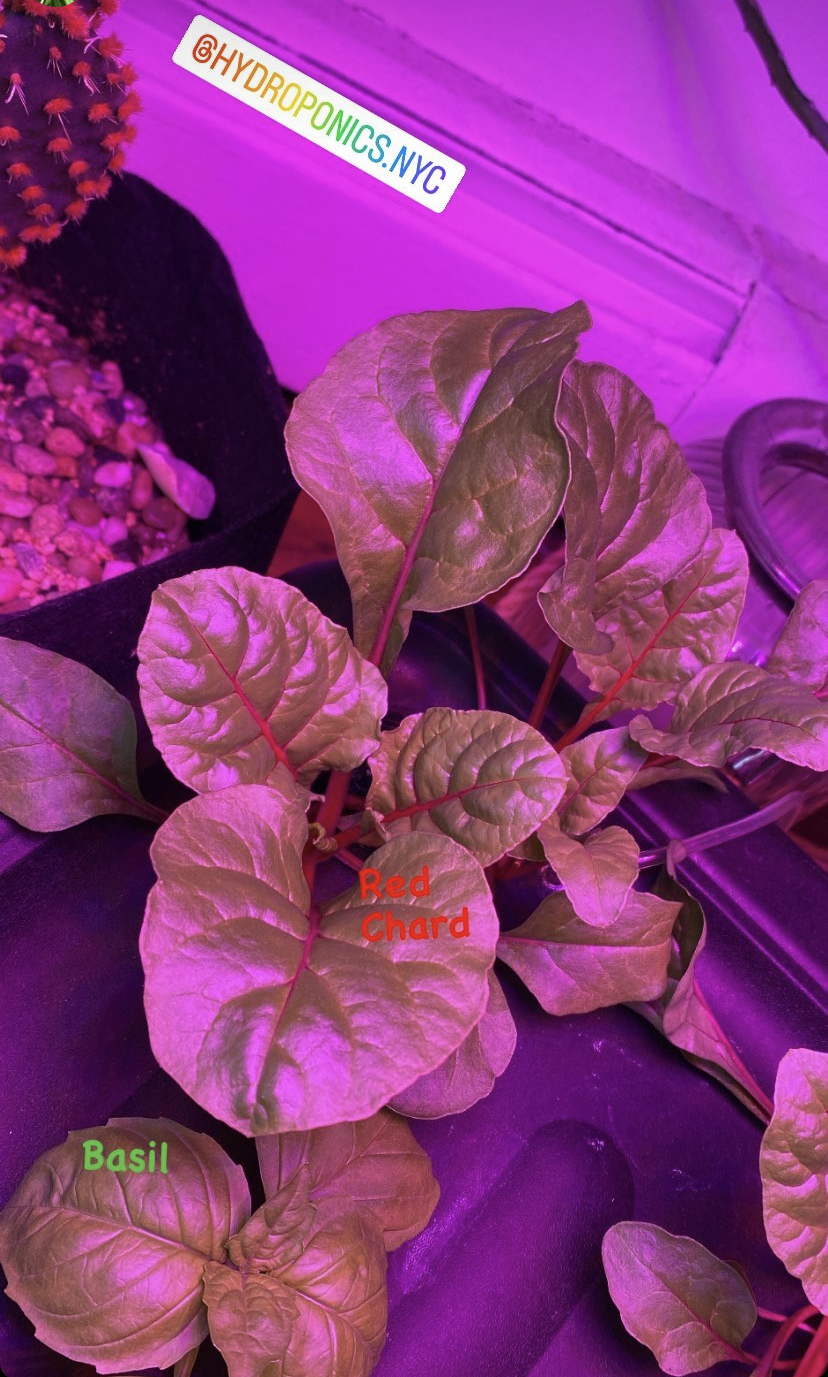
5-8 plant sites fit well per 10-gallon container, this spacing will allow your plants to grow to full maturity. Lettuce takes 4-6 weeks to harvest, and cooking greens & herbs take 8-12 weeks.
 @Hydroponics.NYC
Step 3: Fill the container nearly to the top with tap water & add dry nutrients.
A simple method for making nutrient solution is to take a quart-sized container and fill it nearly to the top with tap water (you can use the water that is already in your tote.) Then, mix a teaspoon of part A and a teaspoon of part B of the dry nutrients until all nutrients dissolve in the water. Add nutrient solution to your 10-gallon container and fill it with tap water until it is nearly full. Measure the electrical conductivity (EC) using the handheld digital reader.
You want the EC to measure 900-1300 ppm (1.5-2.5) to grow most herbs and lettuce, and you can add 1/4 of a teaspoon of each part A & B and then measure the EC again, repeat as necessary until you reach the desired EC level. After each harvest, check your EC and add nutrients & water when necessary to maintain the 900-1300 ppm (1.5-2.5) range.
*For cucumbers/peppers/tomatoes, desired EC range: 1500-2500 ppm (2.5-3.5).
Step 4: Installing the air pump and air stone
The air pump attaches to the air stone via a small plastic tube (usually provided). Place the air stone in the nutrient solution and the air pump at a higher elevation than the level of the water in your deep water culture system (to prevent a siphoning of water out of your system).

@matthew_gerard_
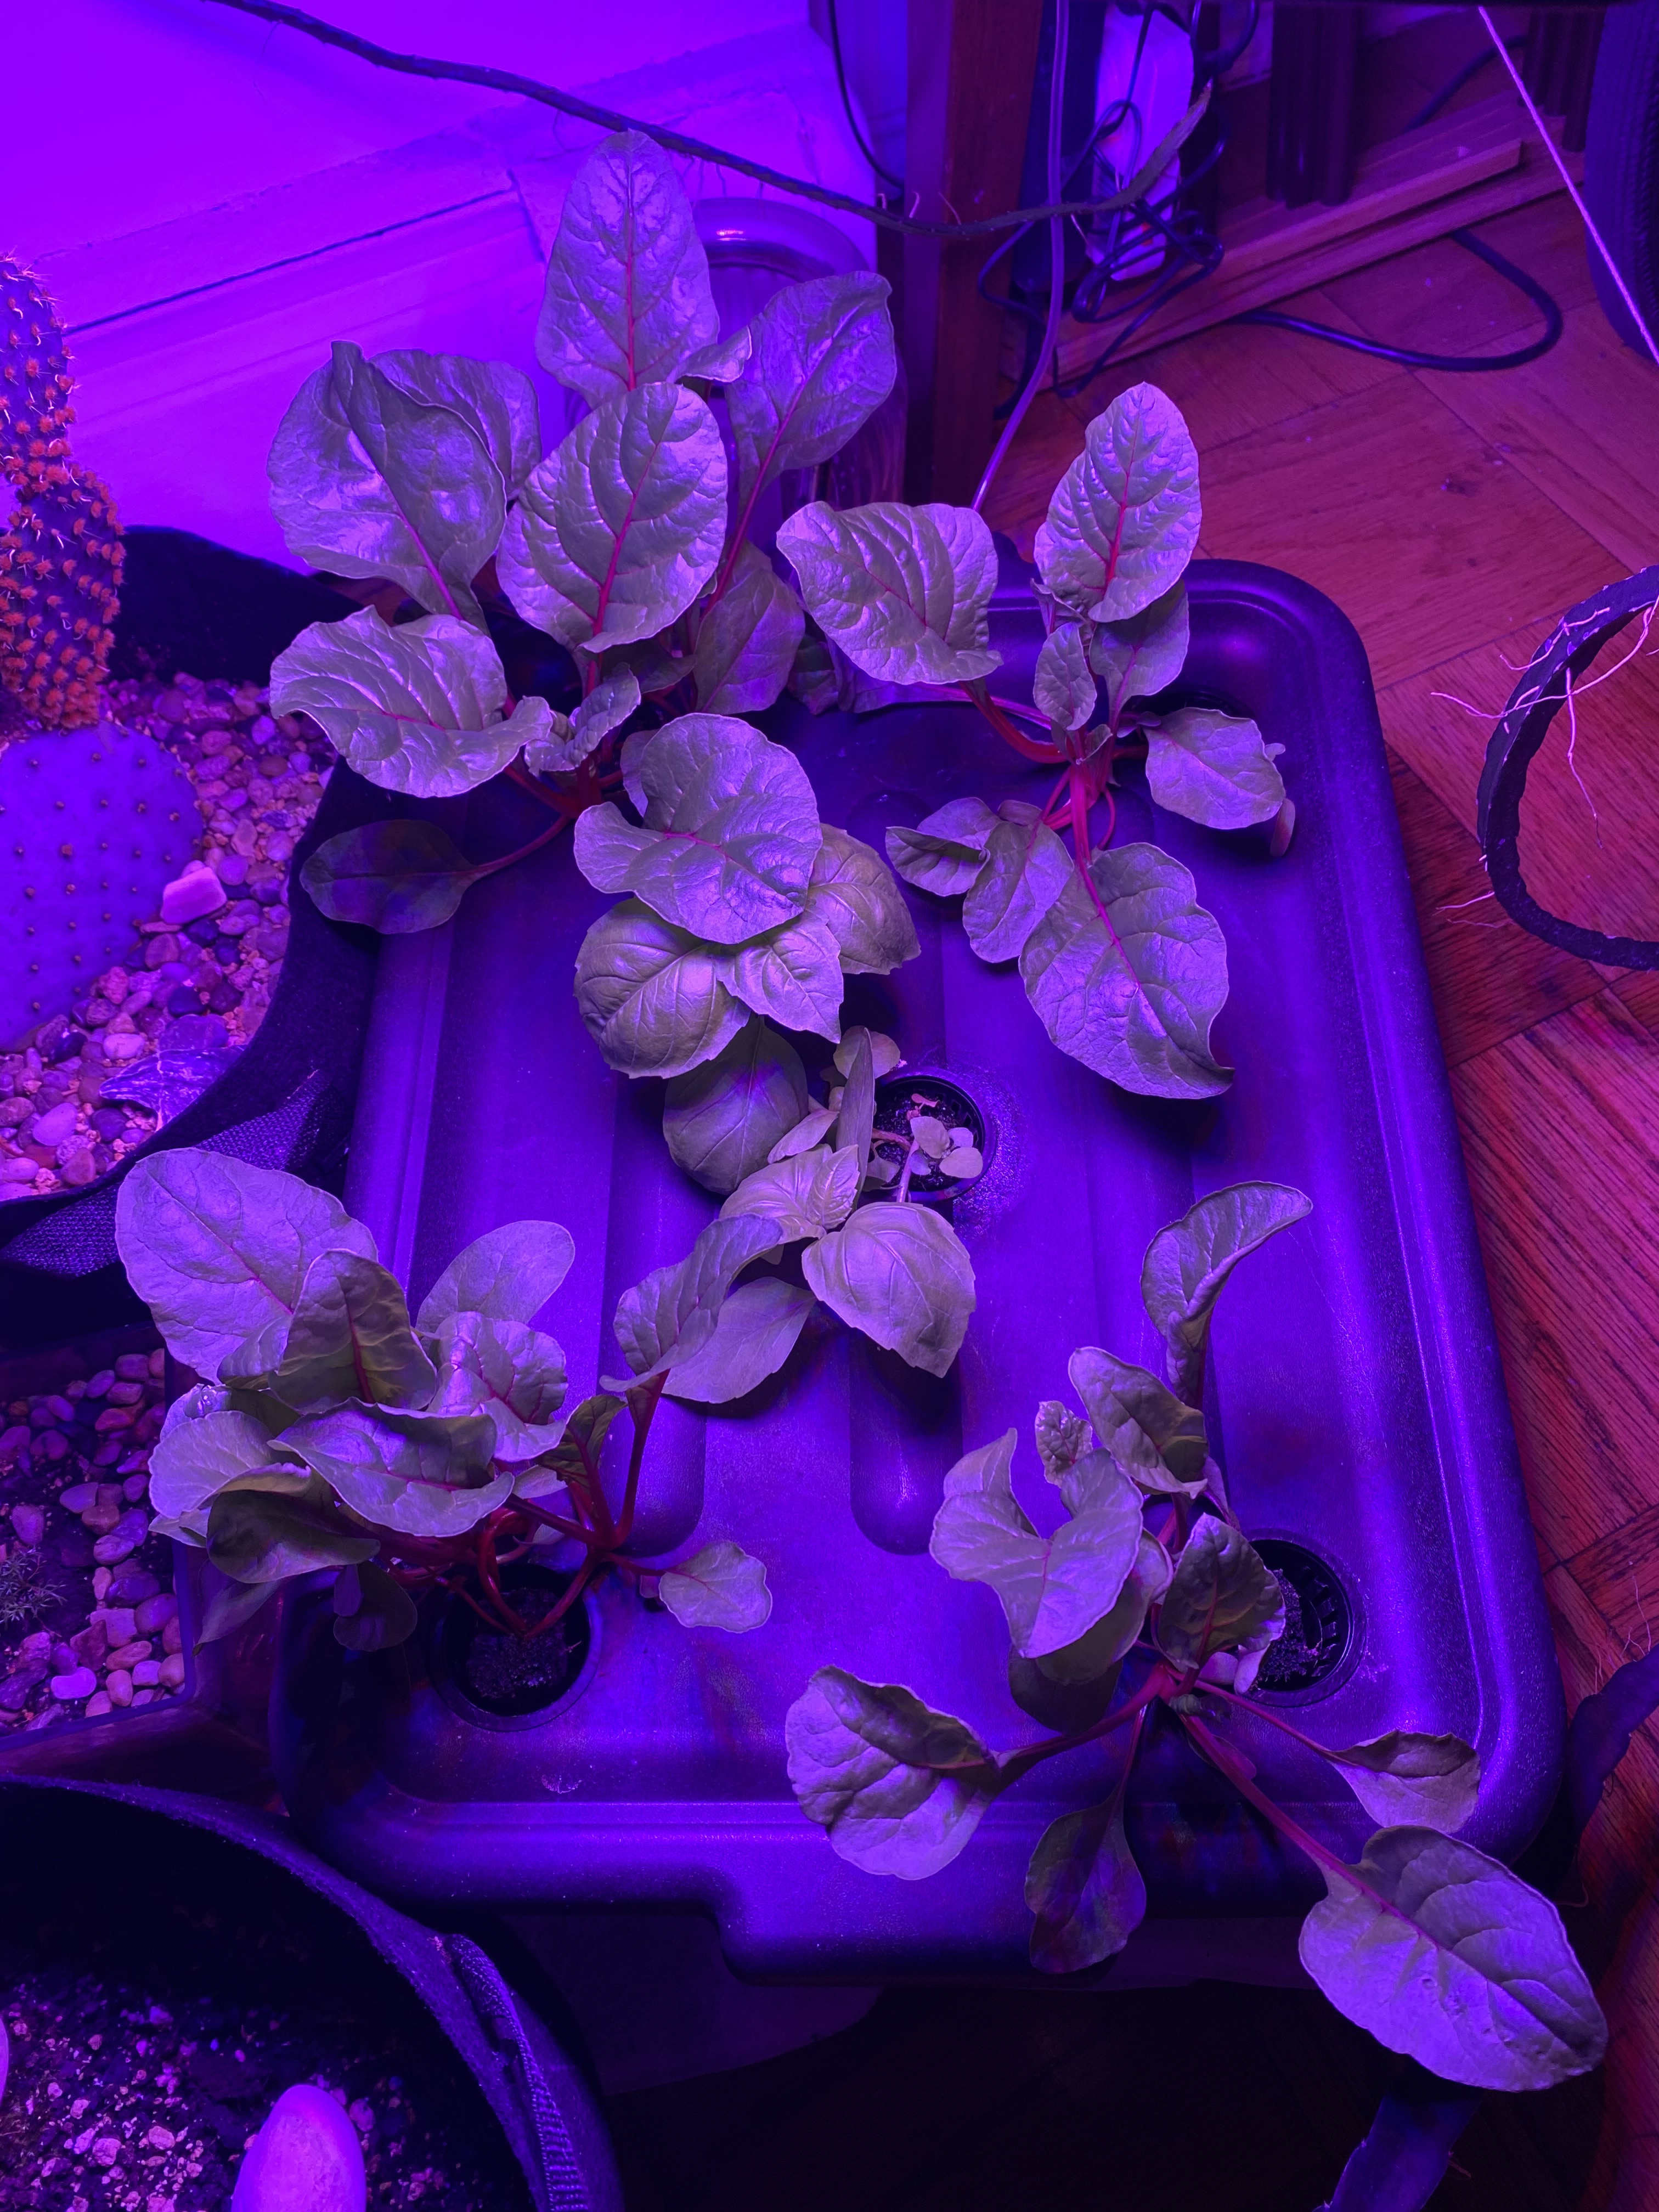
Step 5: Insert the net pots and coco coir cubes into the holes you cut for each plant site.
You want the bottom of the net pots to be submerged in the nutrient solution, then add a coco coir plug to each plant site.
Step 6: Plant your seeds & place them under a light source.
Now you are ready to plant your seeds in each plug (Ideally, 1 lettuce seed per site or 3 herb seeds per site)
*Be sure to place your system under sunlight or an artificial light source to ensure your plants can photosynthesize!
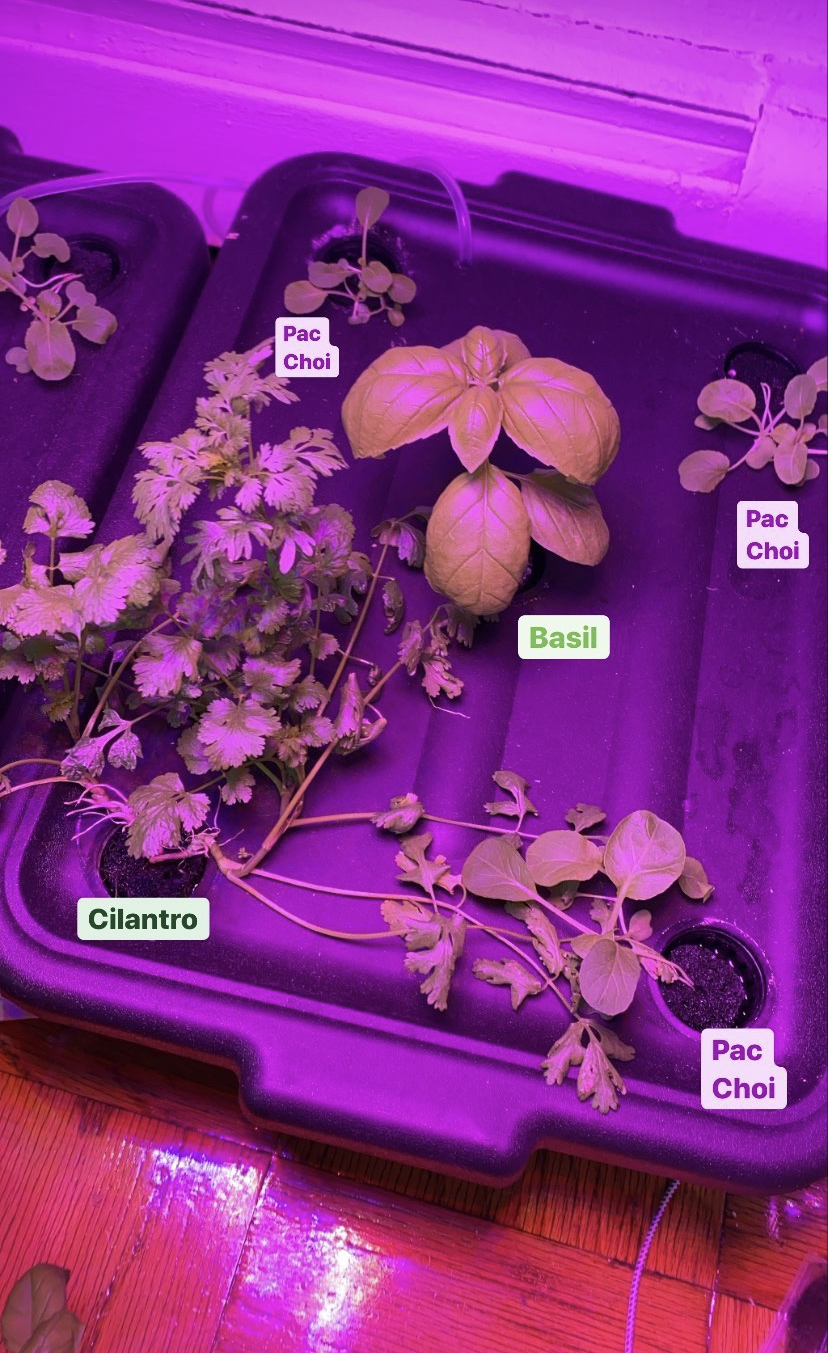
@matthew_gerard_
Suggestions:
-If it’s summer, consider placing your DWC hydroponic garden outside under direct sunlight, or if one of your windows gets a ton of sun, place it there.
-If you have space under a coffee table, consider using this lamp or installing these lights on the bottom of the table and placing your DWC hydroponic garden under there.
Links to Materials I used:
- Storage tote or bus box with lid
- Drill
- 2″-3″ hole saw drill attachment
- Net pots (2″)
- Coco coir plugs
- Dry nutrients Part A and Part B for lettuce (works for herbs too)
- *If you are growing flowering plants, replace Part B with these BLOOM nutrients
- Digital EC meter & pH meter
- Measuring spoons: measuring spoon set
- Air pump & Air stone
- Herb & lettuce seeds
IG accounts:
@Hydroponics.NYC
@Matthew_Gerard_